
China Cabinet Refresh
Hello DIY Decorating Enthusiasts,
I’ve done several projects during this pandemic lockdown, many of you know. You may have done some as well, since we have all had more time on our hands.
My first project was cleaning out our entire garage, but I won’t bore you with a post about that! 😉
I wanted to share my recent china cabinet refresh: I painted the inside using a dry brush technique (sort of like grasscloth) with two colors of turquoise that I had left over from two adjacent rooms.
This is before, with all the dishware taken out. It was quite dark, and you couldn’t really see what was showcased inside of it:
![]()
The secret to keeping the tannins from leaching into the new paint is to use an oil-based primer first. It took me two coats of primer. You can paint over the oil-based primer with latex (which is water-based) or oil-based paint:
![]()
I painted a base coat of the lighter turquoise color, which is interior latex paint, then I used a wide brush to create the dry brush technique with the darker turquoise over the lighter turquoise color. I made striations, or strokes, up and down, then side to side:
![]()
For a simple, inexpensive way to give it some light inside, I used a strand of battery-operated fairy lights, and attached them using push pins. This way, it’s not a permanent light source. If I choose to create something nicer in the future, these would be easy to take out.
You can find these at Five Below:

Source
I also took off the drawer pulls and spray painted them gold. It makes them look richer and brighter, more like jewelry, I think:
![]()
![]()
This is the finished product:
![]()
![]()
I would have painted the exterior a fresh white color; however, I wanted to keep the china cabinet stained wood color since it matches with the dining table. See both together here:
![]()
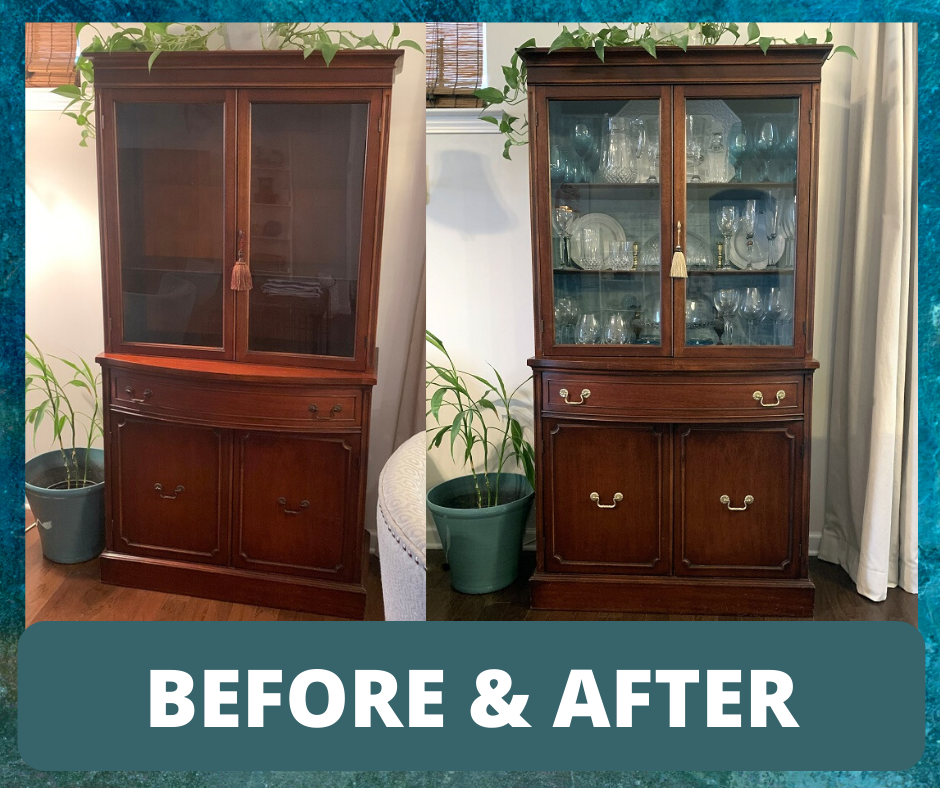
Here are the before and after again:
If you had to purchase supplies for this project (which I didn’t have to since I had all the supplies already), here is the cost breakdown:
- Oil-Based Primer–I used quart-sized Cover Stain by Zinssner from Lowes–$9
- Gold Spray Paint–I used Rustoleum in Pure Gold from Lowes–$6
- Paint–two colors–Varies, but if you use quart-sized Color to Go samples, they are $9 each at Sherwin Williams. I used “Rain” and “Tranquil Aqua” from Sherwin Williams.
- Battery-Operated Fairy Lights–$5 from Five Below
I hope you enjoyed this simple project and are inspired to make a boring piece in your home more glamorous.
Happy Decorating!
Alison
Leave a Reply
Want to join the discussion?Feel free to contribute!