
DIY Christmas Tree Cones
Hello DIY Decorating Enthusiasts,
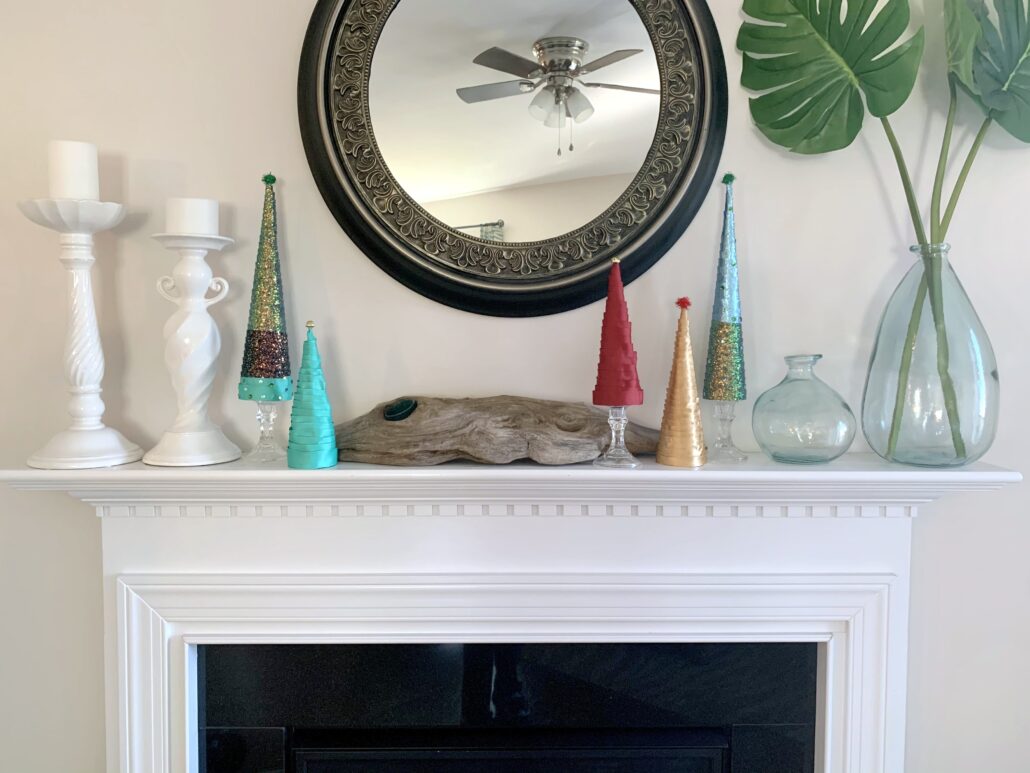
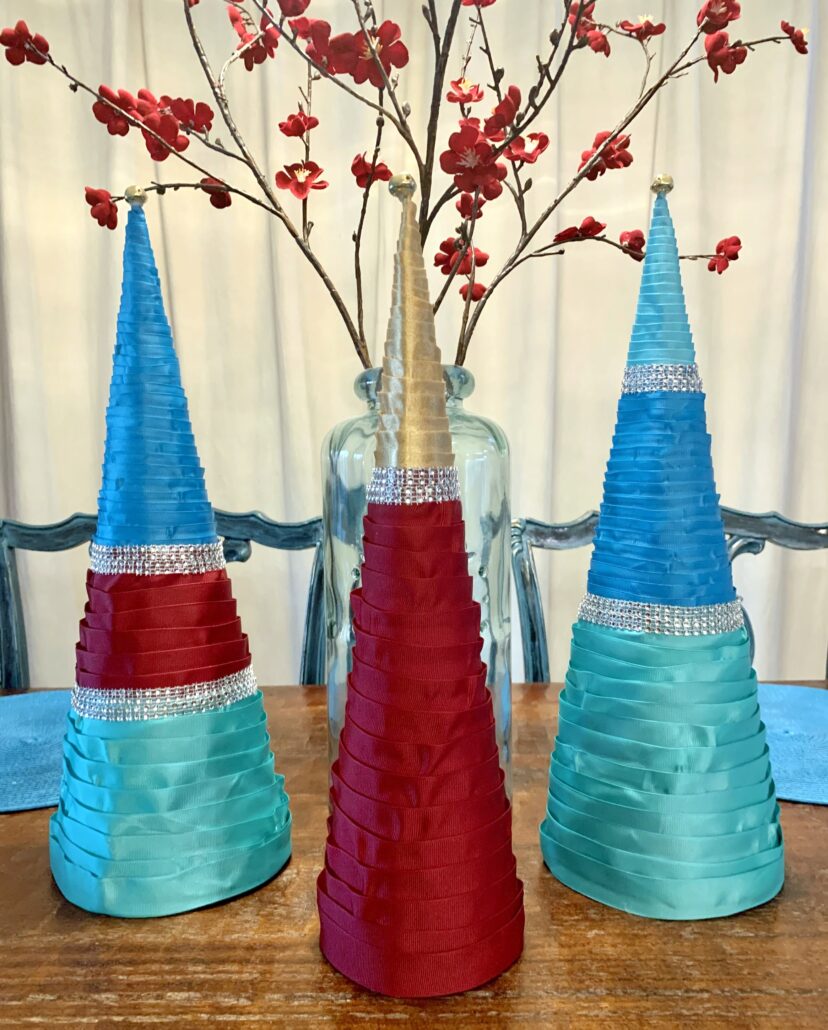
I’ve completed a simple, family fun project for Christmas decorating that I wanted to share with you: diy Christmas tree cones.

Supplies you’ll need:
- Scissors
- 2-4 Sheets of Poster Paper– Can you instead purchase foam cones to cover? Of course, but I wanted to show my children that you can create something beautiful from simple supplies.
- Double-sided Tape
- Packing Tape
- Spray Adhesive or All Self-Stick Ribbon (which can be found at the Dollar Tree or other craft stores)
- Glue Gun or White Glue (like Elmer’s)
- Ribbon, Pearl Strands, or Yarn
- Decorative Pompoms or Bells for top of trees
- Sequins (optional)
- Empty Ribbon Spools (optional)
- Candle Pedestals (optional)
- A Yard Stick (for drawing straight lines)
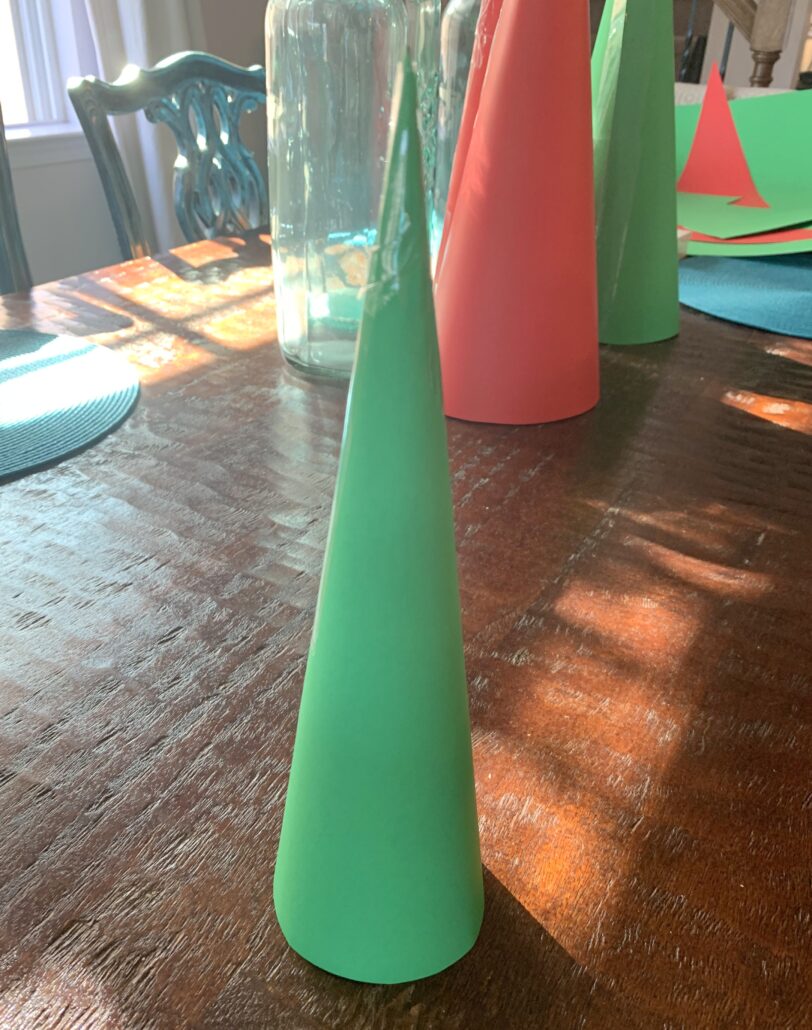
You can start by drawing a shape like this and adjusting it according to the width and height you’d like for each of your trees:

Once you cut out your shape from the poster paper, create your cone. The first one can be used as a template for any of the same size–simply trace it to create others. You’ll need to fold over the flap and attach it to the underneath of the other side. This is where I used double-sided tape. I then used packing tape to tape over the seam on the outside. Since you’ll be covering it with ribbon, don’t worry if the tape doesn’t look perfect. 😉
(Optional) If you happen to have empty cardboard ribbon spools, use them as bottoms for any cones that have a base of the same size. I just happened to have a few that were, so I lucked out. This is especially necessary if you want to place your Christmas cones on top of a candle pedestal. I used candle pedestals for the small trees on my mantel. Trim the edges of the cardboard spool if needed, so that it fits snugly inside the cone. Spray the outer edges of the cardboard spool with spray adhesive, then insert it into the base until it’s level. If you prefer, you can also use double-sided tape.


If your empty cardboard spool is too small to be a base, you can still use it to create stability inside of the cone. Just glue it where it won’t go in any further. I did this for the three large cones I made.

Once you’ve added your base or inside support (if you’re doing so), you are ready to decorate your cone.
If you don’t have self-stick ribbon (which can be found at the Dollar Tree or other craft stores), spray your cone with Spray Adhesive and allow to dry for a couple of minutes so that it’s tacky, but not gooey. I learned this lesson after starting too soon so that I got my fingers all gooey and couldn’t stop sticking to everything. Remember the scene from National Lampoon’s Christmas Vacation when Clark got tree sap on his fingers and was sticking to the magazine pages?

Yes, that’s what it’s like. I scrubbed my fingers ’til they were raw, and even used an emery board to get it all off. :0 Also, I sprayed my cones outside on aluminum foil so that I wouldn’t make a sticky mess inside of the house.
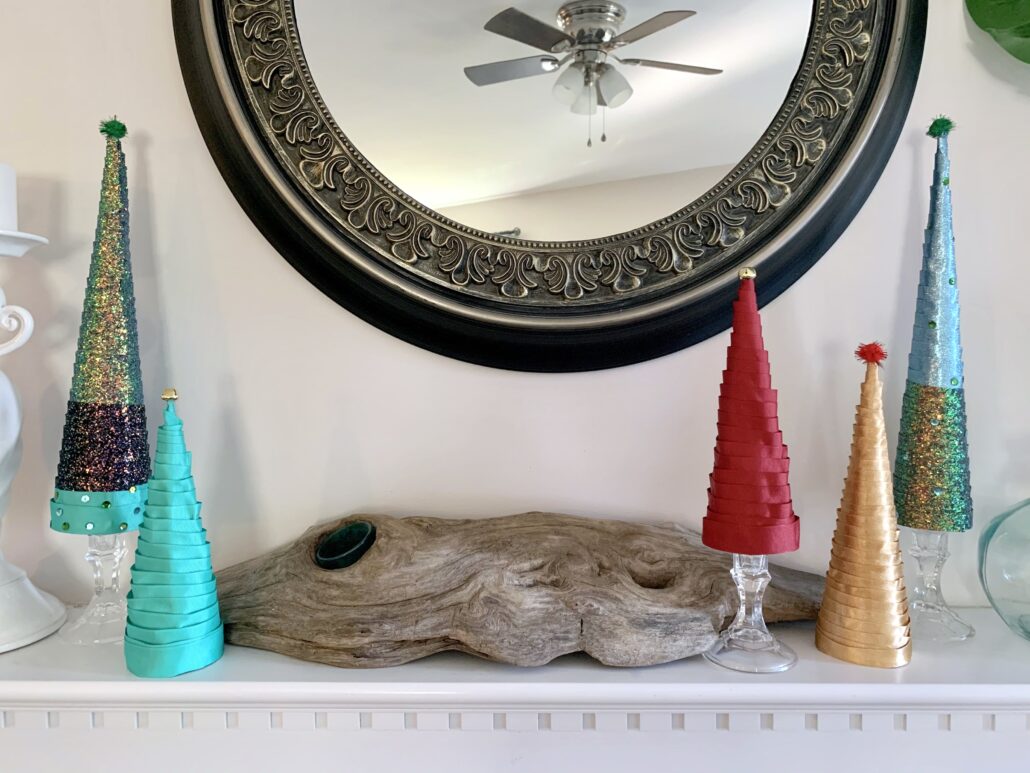
Starting at the top of the cone, put a dot of glue using your hot glue gun or white glue for the start of the ribbon. This secures the ribbon. Slowly wrap your ribbon around the cone, trying not to create folds or gaps. Aim to overlap the ribbon by about half the width so that half of the ribbon is glued to the cone. This process takes a few minutes (like around 15 minutes or so), so be patient and take your time. Make sure the ribbon is sticking to the cone; otherwise, you need to use more of the Spray Adhesive. Once you get down to the bottom, secure the ribbon with another dot of glue using your hot glue gun or white glue.

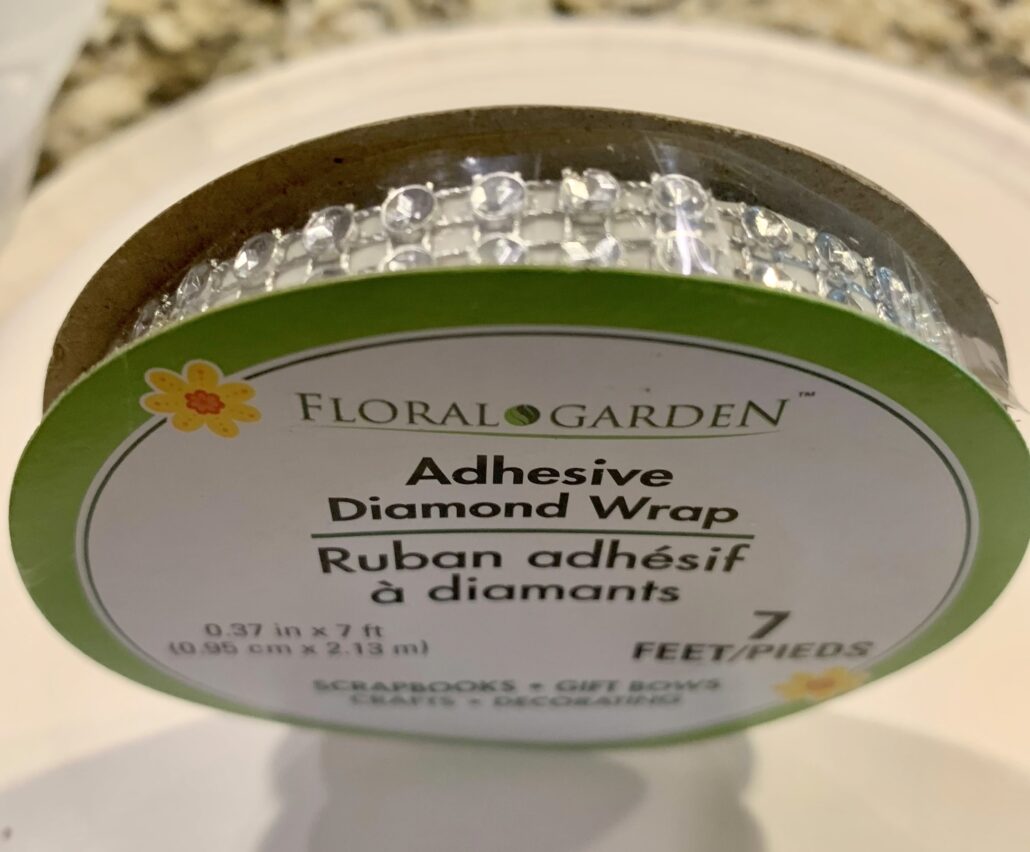
Now you can add any sequins, adhesive diamond wrap (shown below), a pompom or bell to the top of your tree (if you’d like).
I hope you enjoyed reading about this simple project, and hope you enjoy spending time with your family for Thanksgiving and the coming holidays.
Here are the photos again, including a nighttime photo of the mantel with our stockings:

If you’d like help creating a welcoming space for your home, please check out my edesign and local design services here.
Happy decorating!
Alison
Leave a Reply
Want to join the discussion?Feel free to contribute!