Hello DIY enthusiasts,
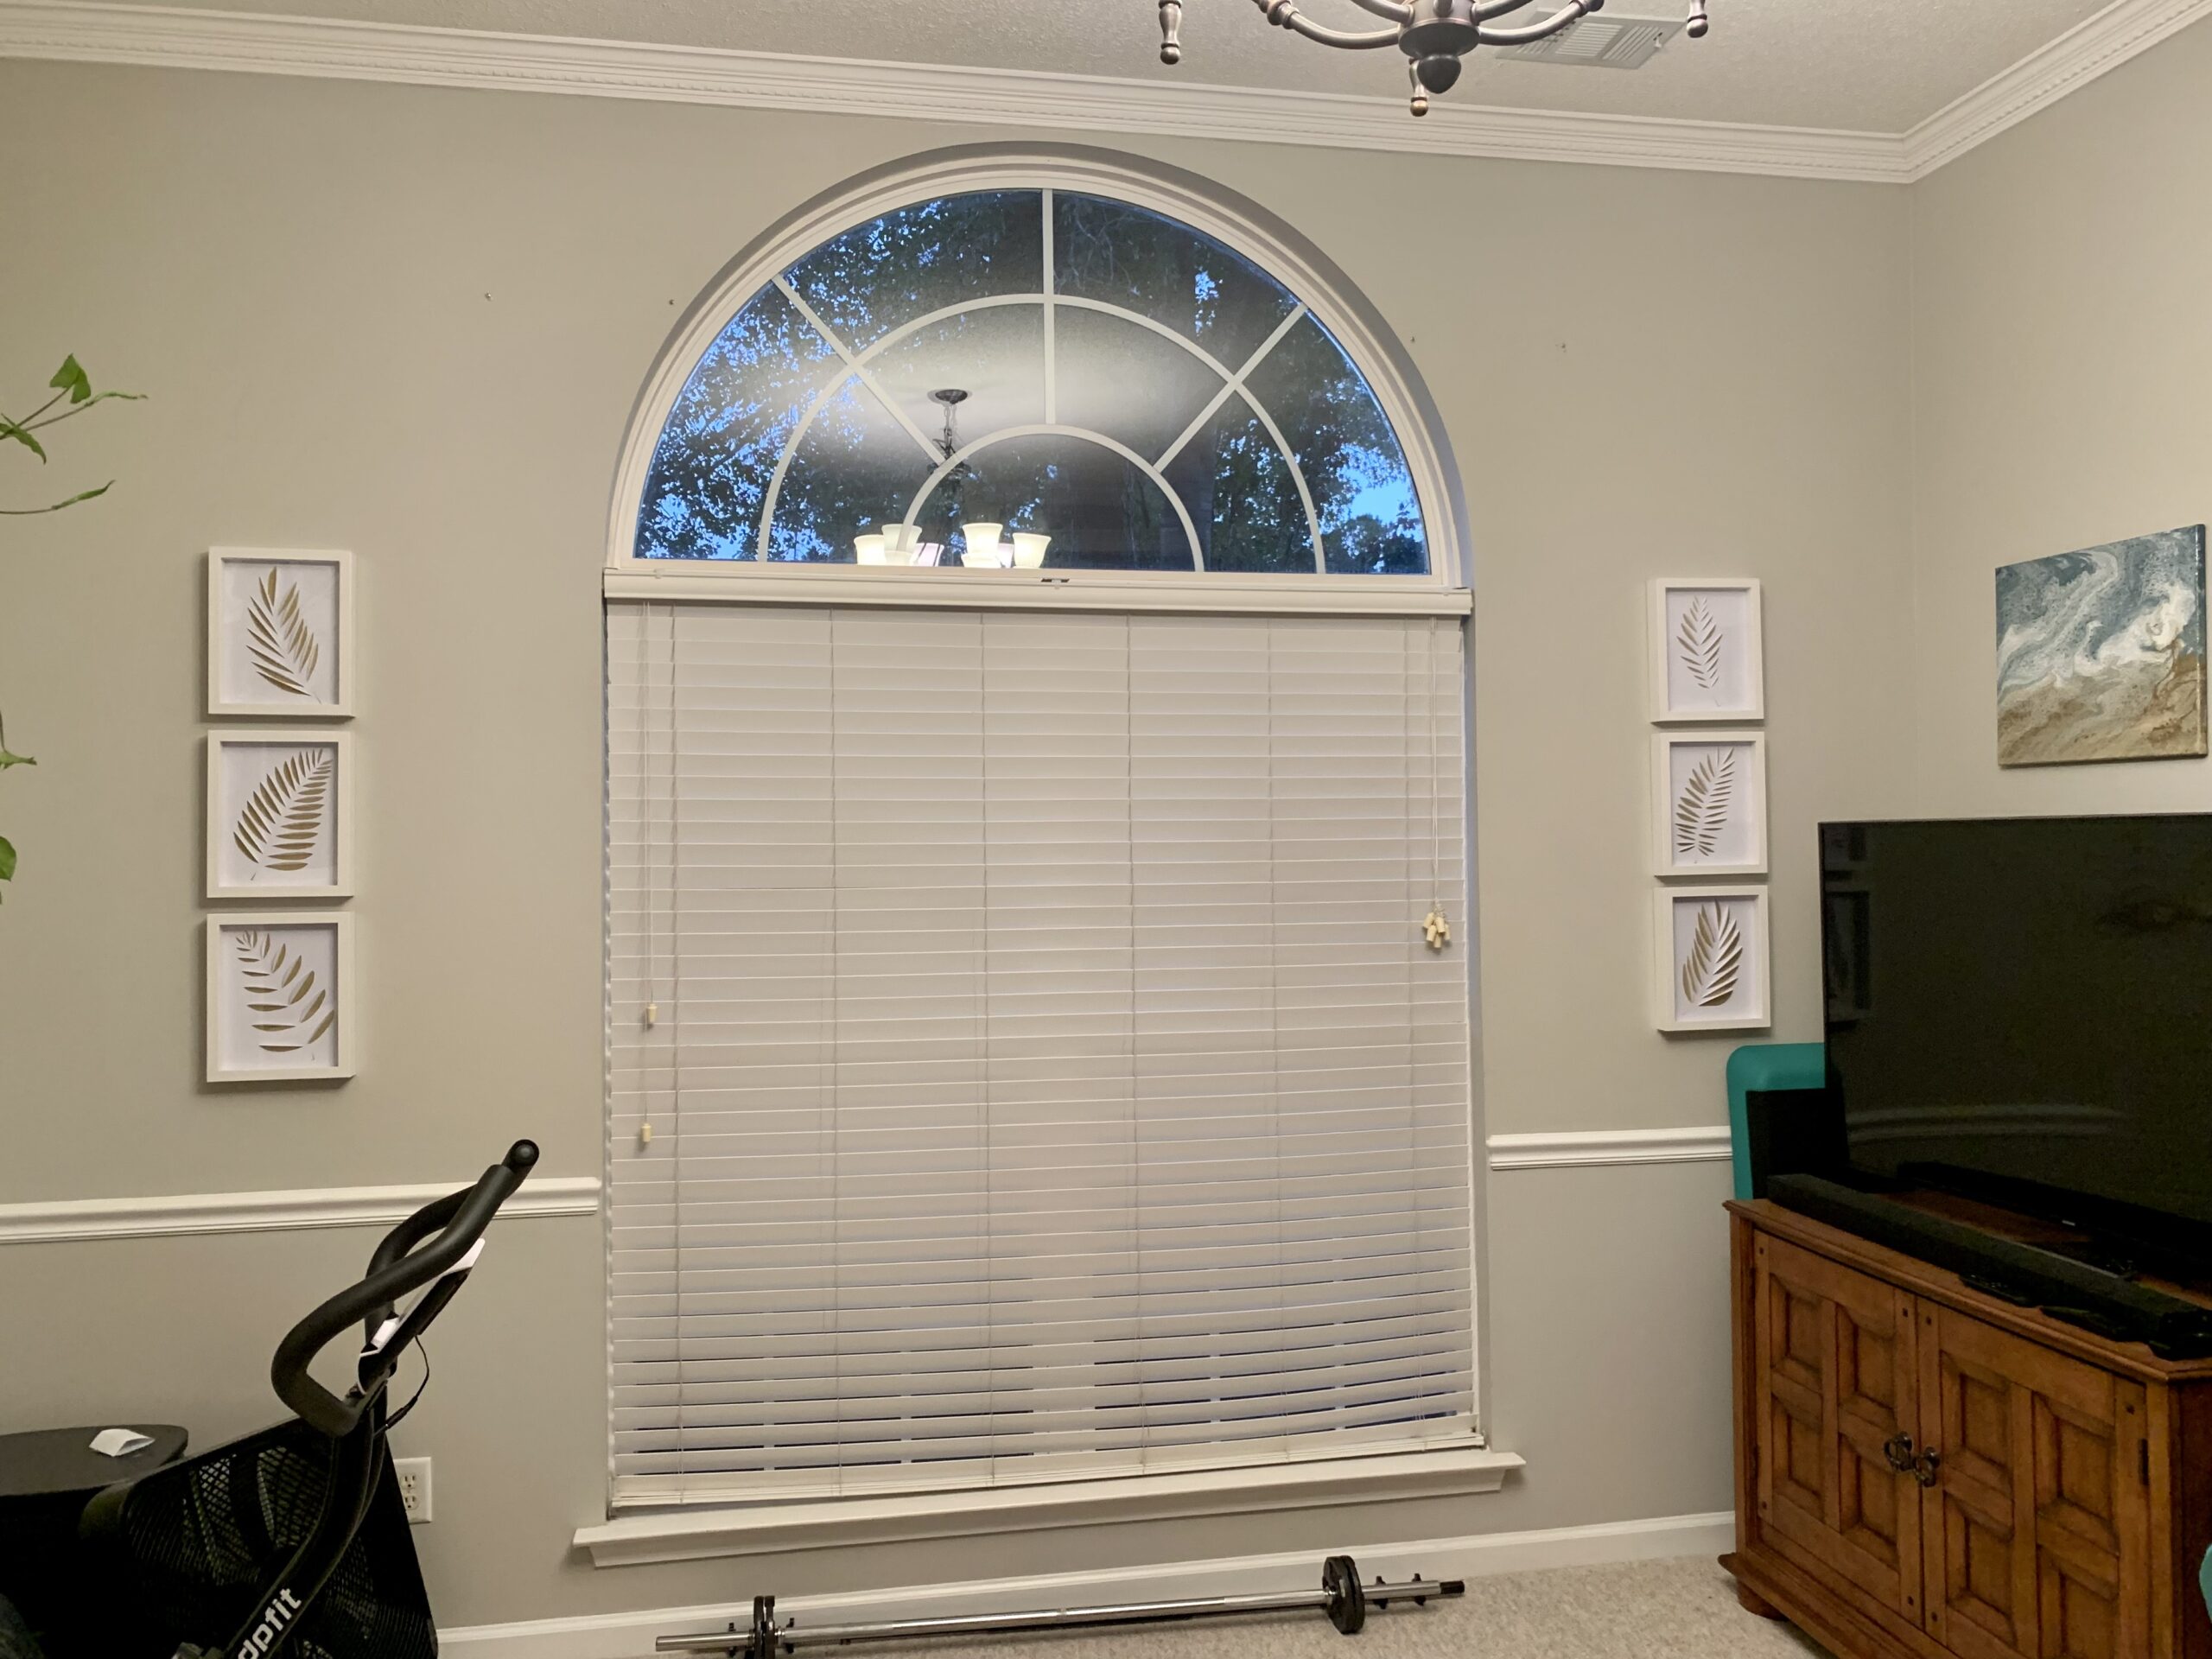
This is the window in my home gym/home office area. It really needed some softening (visually), so I thought that stationary panels would provide that. I didn’t necessarily need (or want) a bulky, long drapery/curtain pole with full-width panels since I already had window blinds to provide privacy. I also didn’t want to cover up the crescent window, as it provides some beautiful light during the day, and I didn’t want to add a drapery pole to just the top of the square window since that would make the space feel shorter. I just needed something to make the space feel more pulled together and cozy.
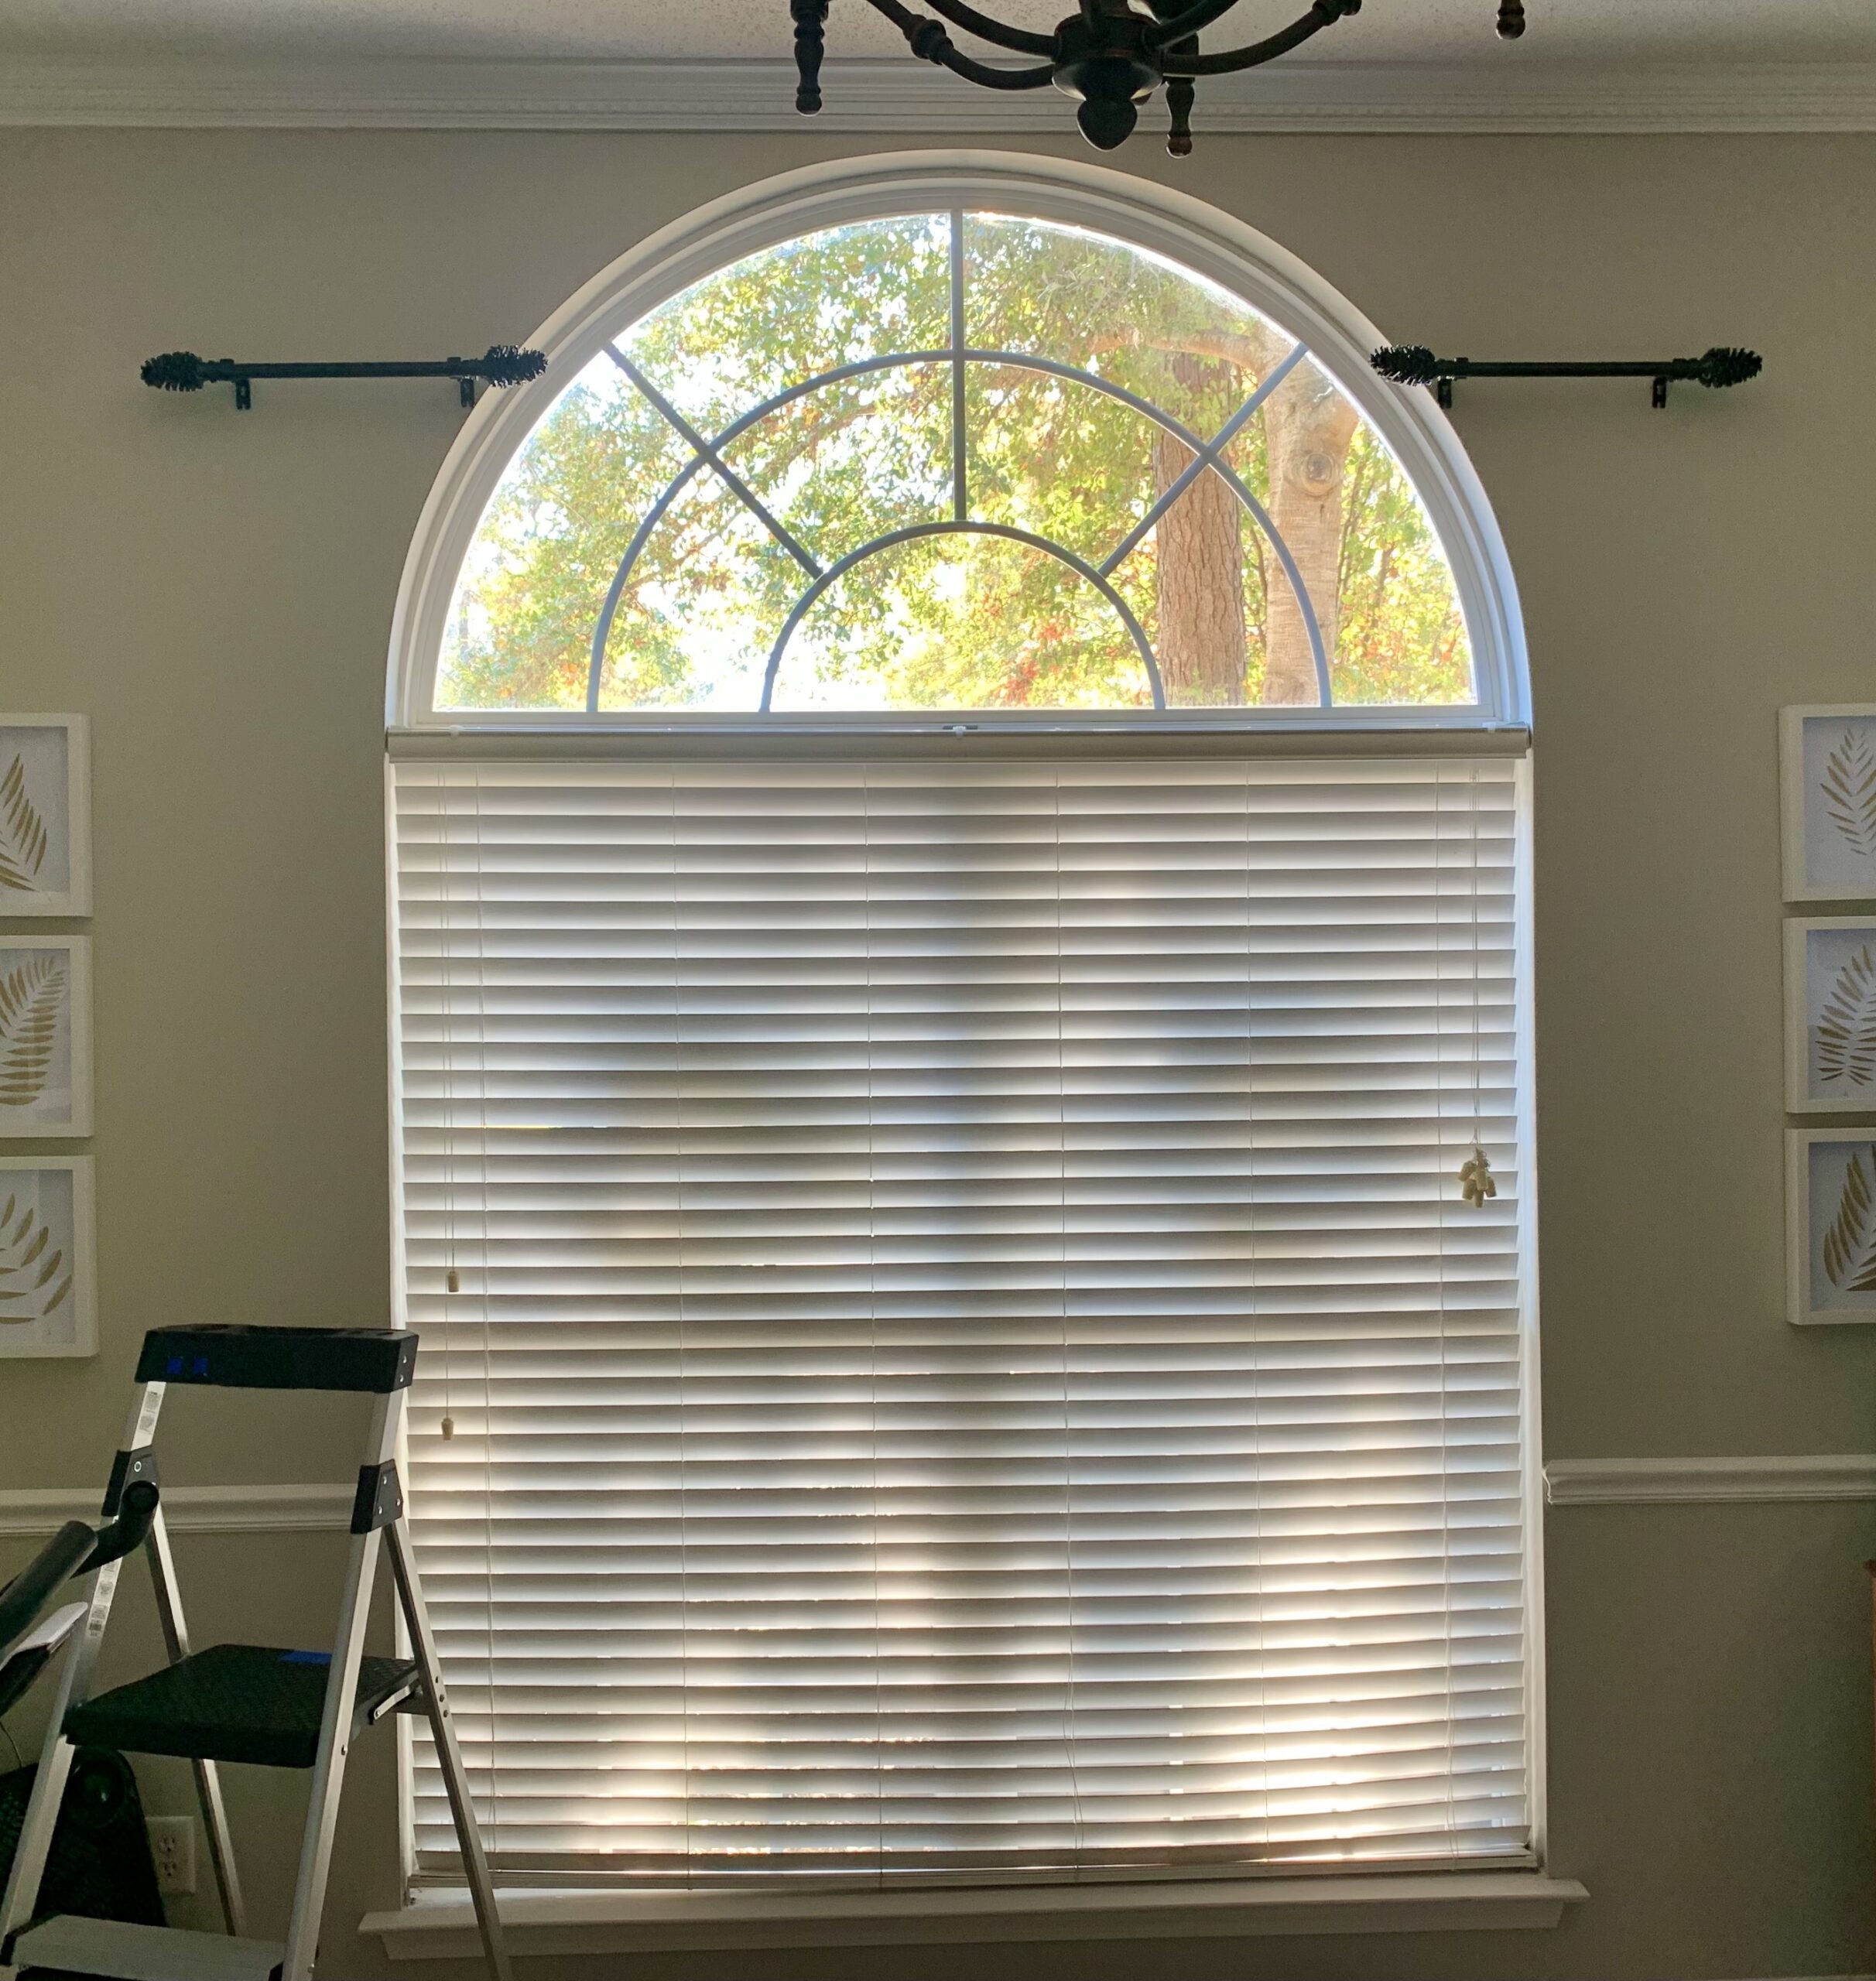
Here is the before:
I wanted to see if I could make drapery/curtain rods out of supplies I had on hand, instead of spending about $70 or more on ones from a store. I love a good decorating challenge! 🙂
This is a super easy (and inexpensive) way to make your own stationary drapery/curtain poles.
Supplies you will need:
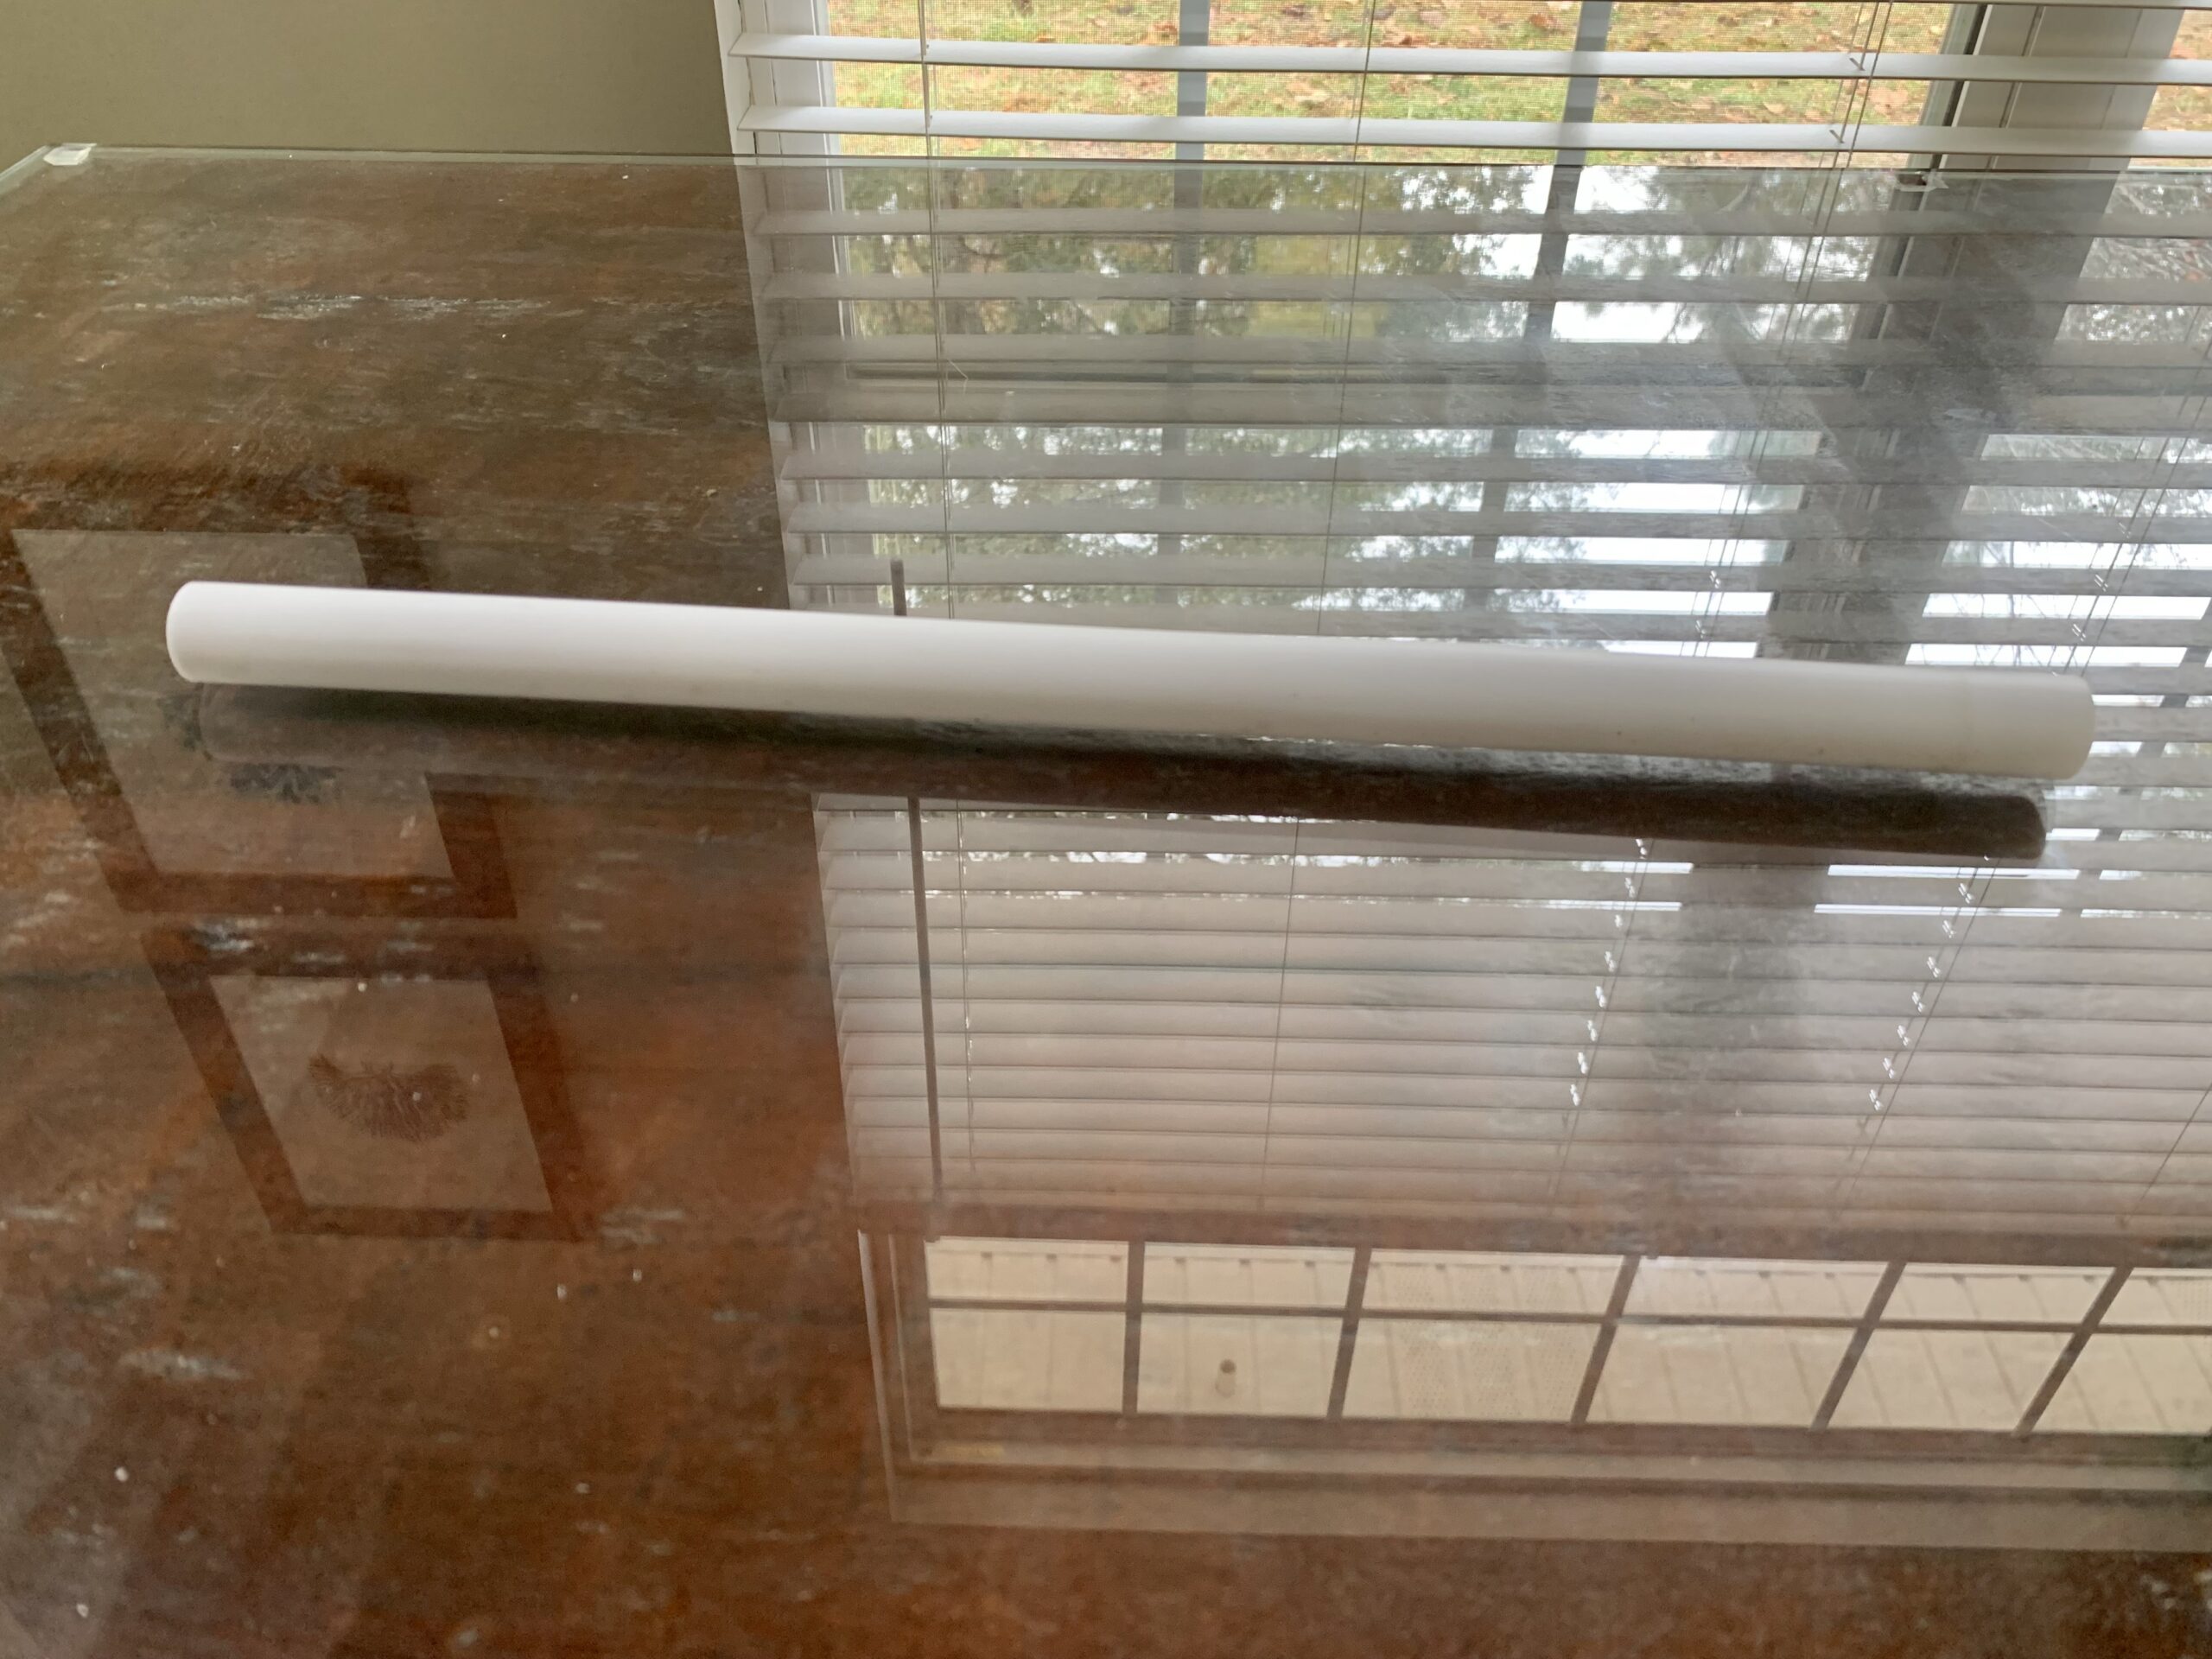
- 3/4-inch PVC Pipe (at least 2 1/2 feet long) (You can purchase 10 feet from a hardware store for less than $6.) You may be able to have the store cut you 2 14-inch pieces, or if you have a hand saw at home you can cut them yourself.
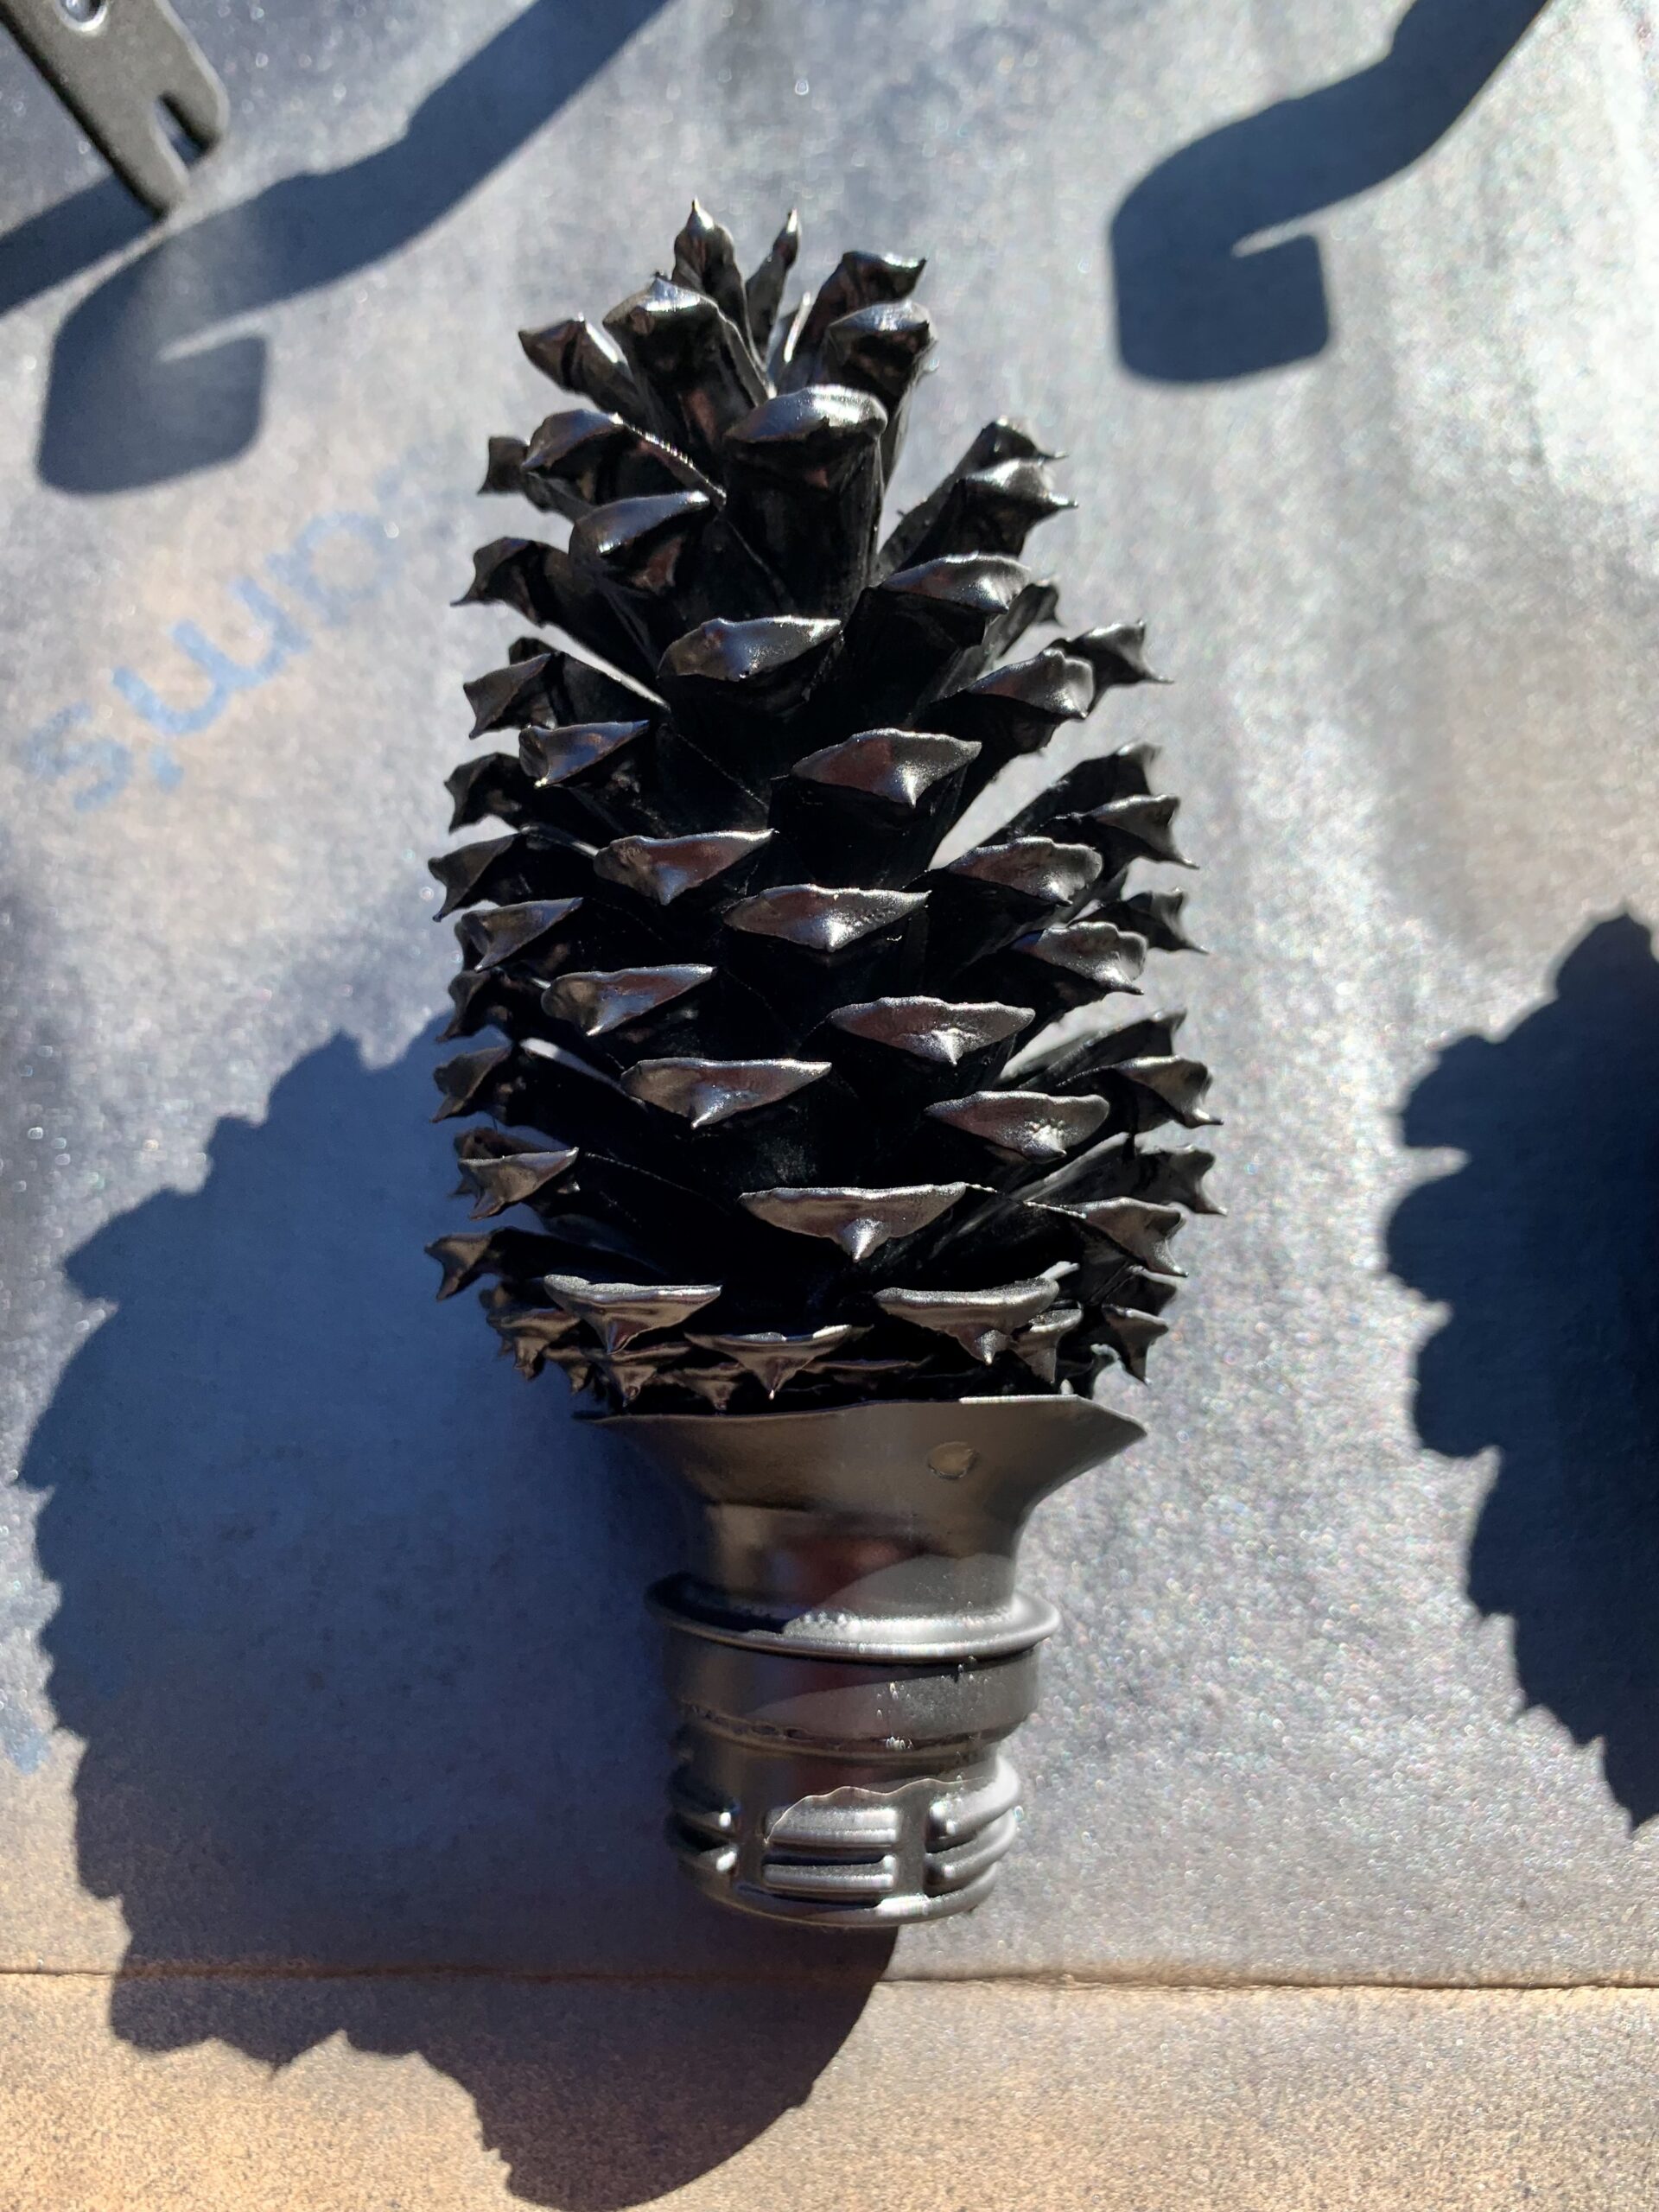
- 4 Pinecones from your yard (or you can purchase some from a crafts store). These will be your finials on the ends.
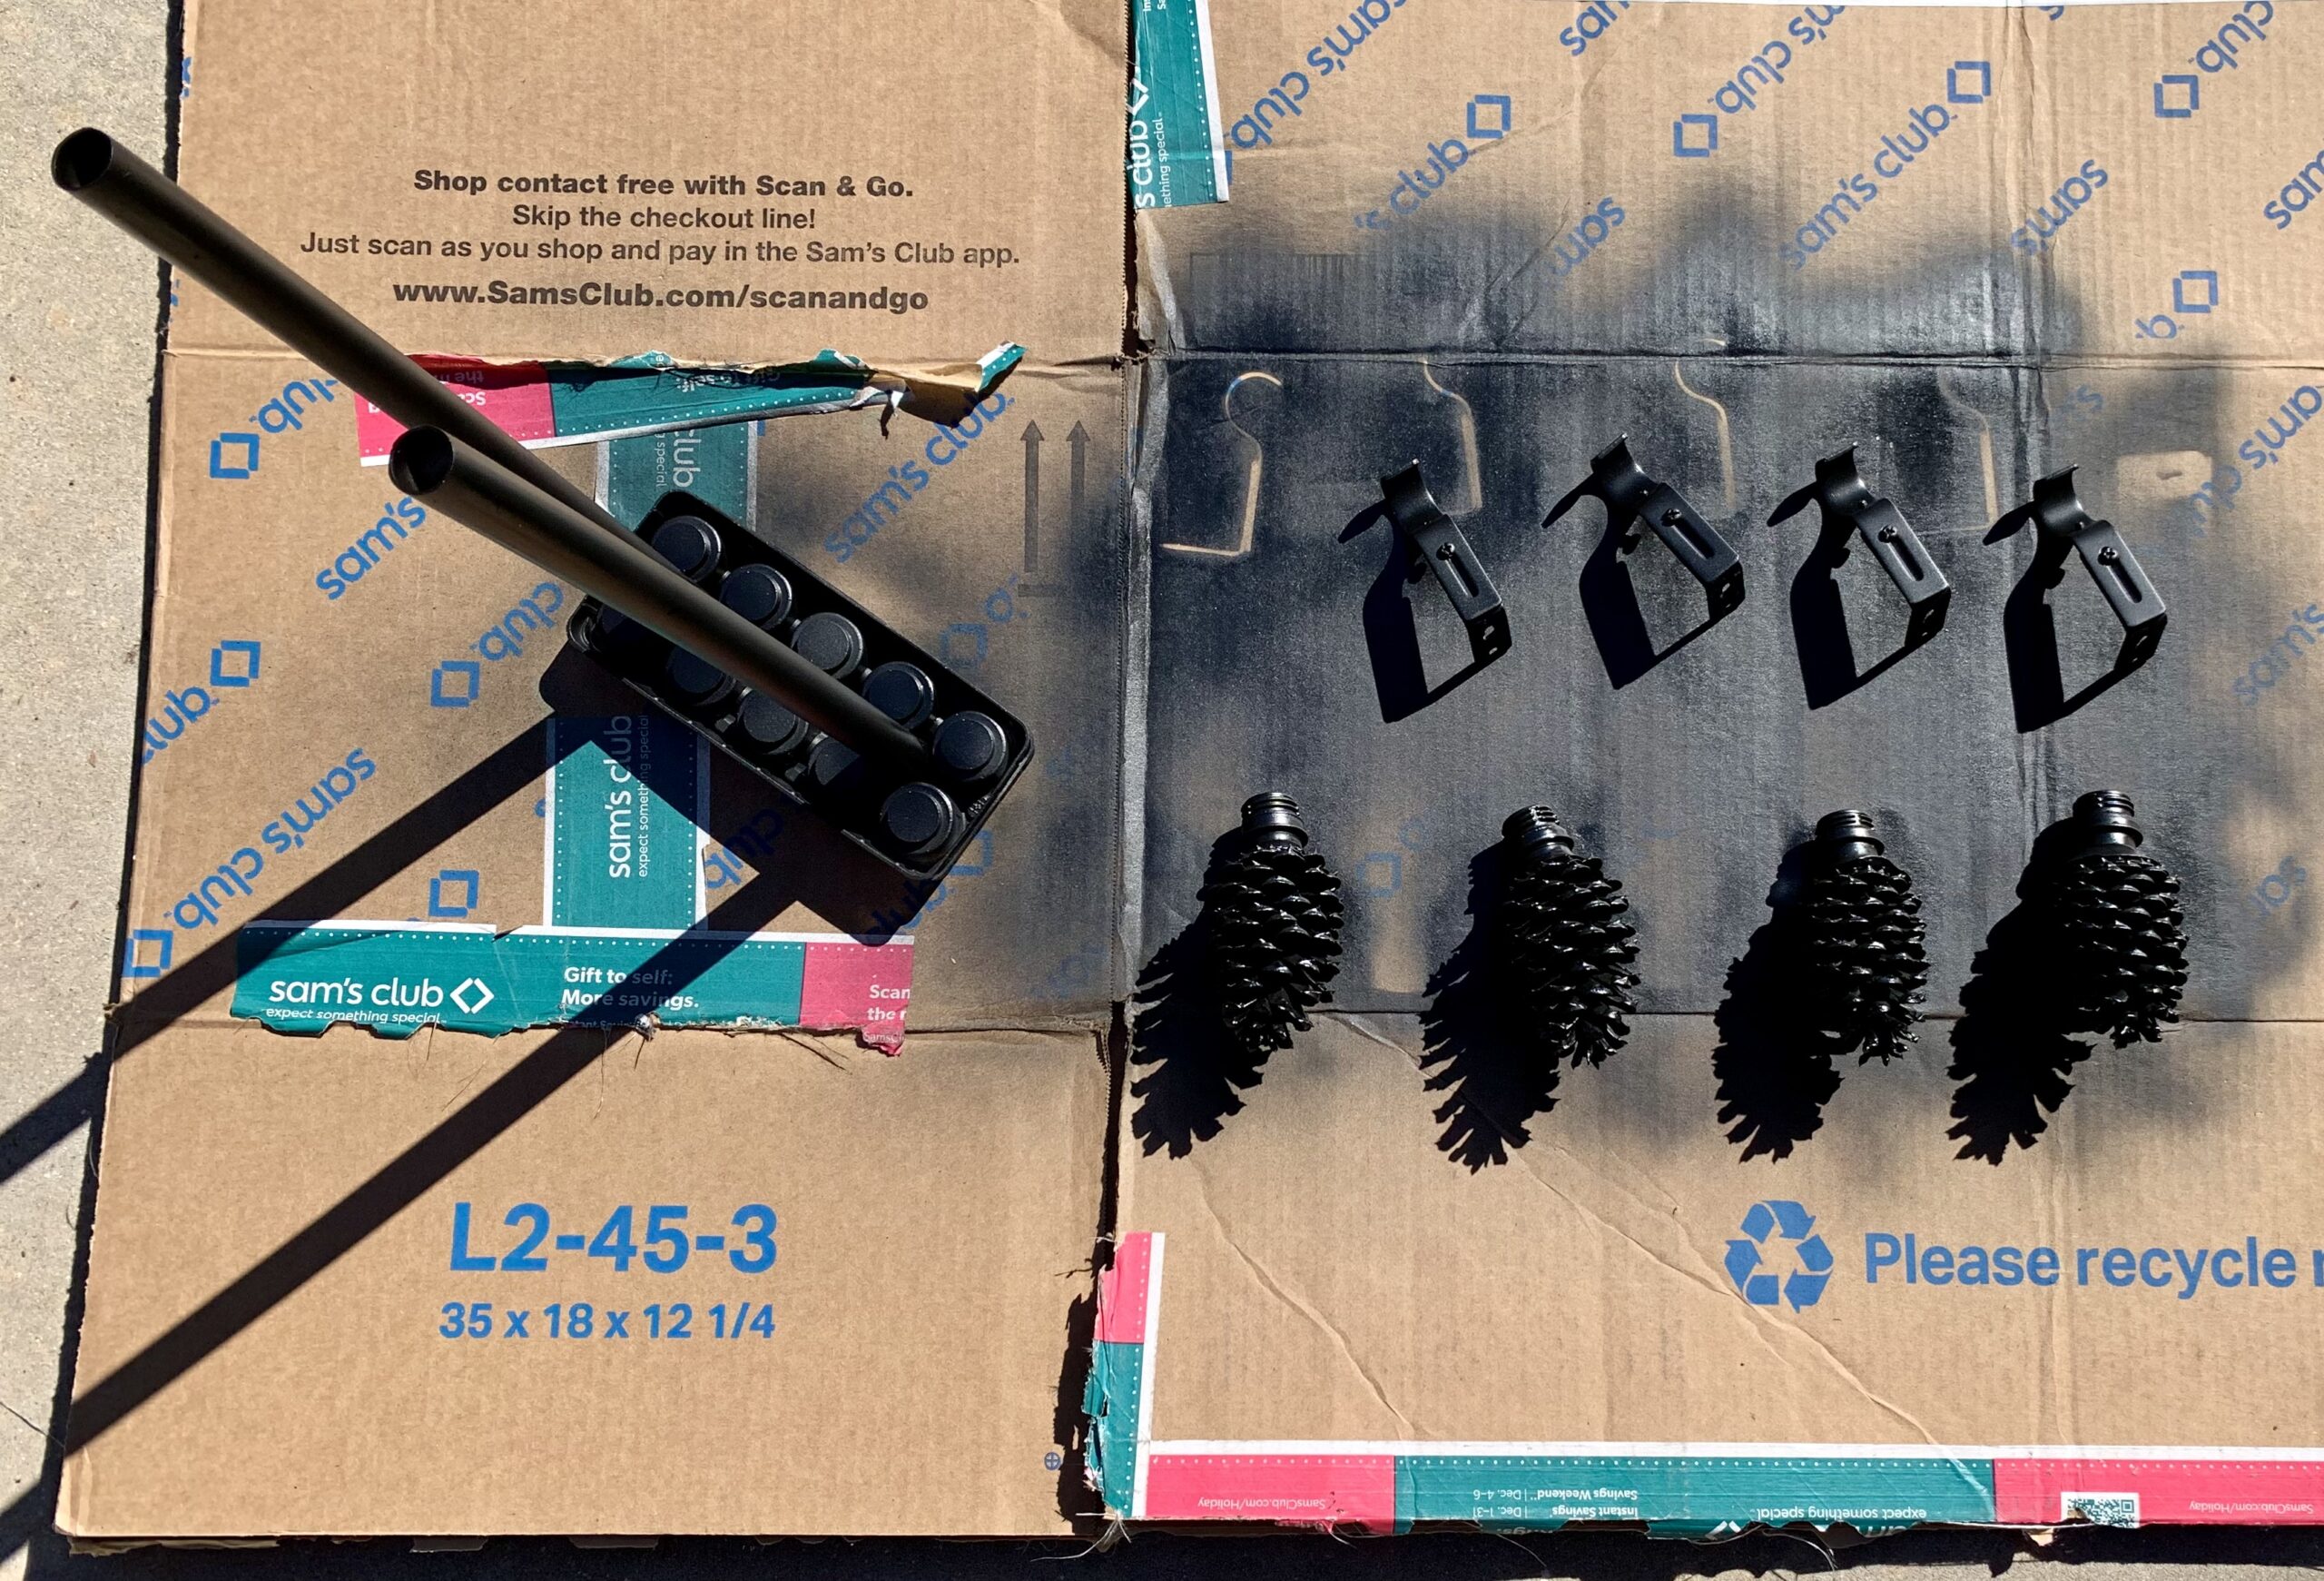
- 4 1-inch adjustable drapery/curtain Rod Brackets (You can buy a set of 4 for $14 from Amazon.)
- Black Paint (or your paint color of choice)–I chose matte black paint since it closely resembles wrought iron. I wanted the drapery poles to match my other wrought iron drapery poles in my living room, which is adjacent to my home gym/home office area. (Paint was $6.)
- 4 Empty Plastic Water Bottles (or soda bottles). I simply searched my recycling container for what I already had on hand.
- Glue Gun (with glue sticks).
- You may need some Black Electric Tape (if you want to secure the pinecone finials more tightly).

 DIRECTIONS:
 - Cut your pvc pipe to 14 inches (which allows 1 inch on each side for the pinecone finials to attach).
- Cut out 4 of the tops of water bottles, and leave at least 1/2 an inch below the ribbed area (where the lids screw on) to allow enough room to overlap and glue to your pinecones. Unscrew the lids and throw away–you won’t need those.
- Using the glue gun, glue each of the water bottle tops to each of the pinecones. Allow to dry about half an hour. I put my glue gun setting on low temp so that I wouldn’t melt the plastic or my fingers, lol!
- Spray paint all of your supplies: the cut 2 pieces of pvc pipe, the 4 brackets (if they aren’t the desired color), and the 4 pinecone finials. Allow to dry completely.
- Once you hang up your brackets, secure the pinecone finials on the end. If they are too loose, you can wrap some electrical tape to the ends.
Since I wanted my draperies to cross over my window edges by about 5 inches, I made sure to place my brackets on the wall at the appropriate height. I wanted to add height and drama to the space, so I wanted to make sure the drapery poles were placed as high as I could get them while allowing for the drapery to cross over the window by 5 inches.
 I did make my own pinch-pleat drapery panels from drop cloth fabric and gold fabric I had already, but that makes for a second post. 😉
You can easily purchase some inexpensive panels that aren’t very wide. You only need 24 inches in width (or more), to allow for some nice gathering of your drapery/curtain panels.
Here are the Before & After photos again:
Before–
and the After–
If you need help with selecting the right paint colors or with decorating your spaces, check out my services on my website: http://www.myinteriordesigncoach.com/style/color-consulting-services-2/
Let me hear from you if you do this DIY project. I’d love to see some photos too! 🙂
Colorfully yours,